Lab 6: Creating a Animated Linear Narrative

In this lab you will create an animated linear narrative.

View the animation below and identify the varied camera techniques.


PPart I: Creating the Storyboard

The first step in creating an animated narrative is to create a storyboard. It is important to sketch out your ideas in the form of graphic panels. Once the panels have been sketched, apply animation actions to guide in the construction of movement. to the panels before building the narrative. Storyboarding is the The final storyboard is the conceptual design of the narration.


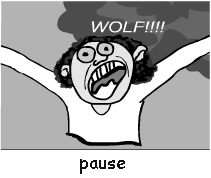
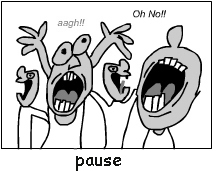
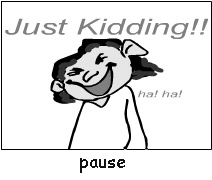
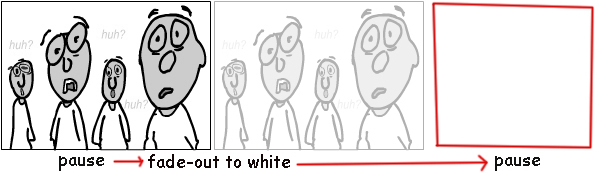
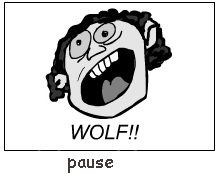
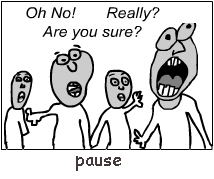
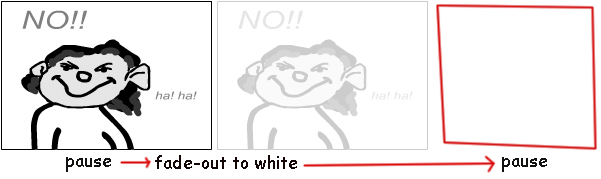
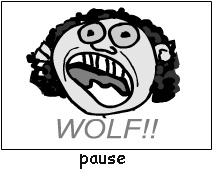
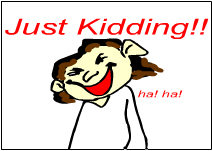
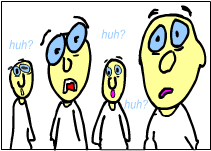
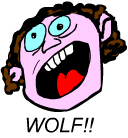
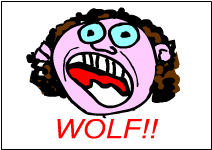
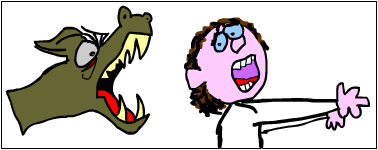
The Storyboard Panels (cartoon strip) for this story have already been created for you. In this animated narrative you will be using the following twelve storyboard panels, each representing a separate action element within the narrative.


The goal of this lab is to explore the process of examining a cartoon strip, constructing the storyboard with complete camera movements, and implementing the animation from a conceptual design.


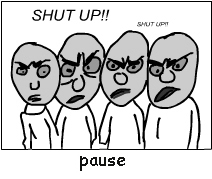
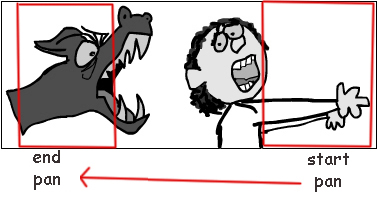
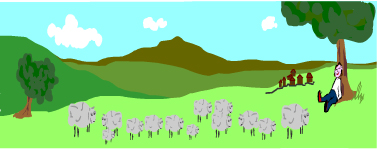
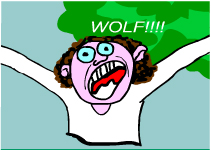
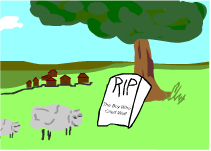
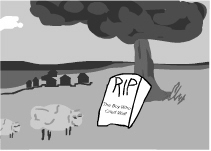
As you explore the storyboards, notice the action words:

  1. pause
  2. pan
  3. truck-in (means zoom-in)
  4. fade-out to white
  5. start pan
  6. end pan


Part II: Upload the Graphic Elements (Assets) into the Asset Library.

  1. Download all of the panels shown below.
  2. Launch WickEditor.com
  3. Add all the graphical panels to assets. NOTE: All the graphical panels, etc. have been created for you.


Part III: Preliminary tasks before building the animation.

All the graphical panels, etc. have been created for you.
  1. Launch WickEditor.com and set the new canvas stage to a width of 212 and a height of 150.
  2. Create three layers in your timeline. (1) TV Frame, (2) Panels, and (3) Backgrounds.
  3. Within the TV Frame layer, create a frame outline (in bright red) around the canvas. This will provide you with a guide for the boundaries of the canvas.
  4. Position the TV Frame Layer at the top of the layer list, extend it so that it occupies frames 1- 330. Finally, lock it down.


Part IV: Creating the Animation using Arrow Guides to build Camera Movements.

    Implement the camera movements outlined by in the storyboards. Follows the actions/motions described in each panel. You will be required to follow these guides to build your animation. You may need to make assumptions on your own.


    Storyboard Panel 1

    Panel 1 is larger that the other panels because it will be used as the establishing shot for our narrative.
    This panel is also important because it introduces the audience to the main character of the story.
    Panel 1 will occupy frames 1 - 80 of the Panel layer.
    Create the camera actions outlined below and in the storyboard.

    1. PAUSE will occupy frames 1 - 20 of the Panel layer.
    2. PAN will occur in frames 21 - 40 of the Panel layer.
    3. A second PAUSE will occur in frames 41 - 60 of the Panel layer.
    4. A TRUCK-IN (zoom into the boy's face) will occur in frames 61 - 70 of the Panel layer
    5. The final PAUSE will occur in frames 71 - 80 of the Panel layer.

    The red rectangles show the location of the TV frame.


    Storyboard Panel 2

    Panel 2 is a dialog image where the boy yells Wolf!!
    The audience does not see the wolf, but it does recognize panic on the boy's face.
    Notice that no motion is required for this panel, just a PAUSE.


    Storyboard Panel 3

    Panel 3 is a dialog panel where the villagers appear hysterical and panic-stricken.
    Once again the audience does not see the wolf.

    Only a PAUSE is required for this panel.


    Storyboard Panel 4

    Panel 4 is a dialog image where the boy smiles and sweetly says he is kidding.
    There is also NO motion required for this panel, just another PAUSE.

    Only a PAUSE is required for this panel.


    Storyboard Panel 5

    Panel 5 is a dialog image where the villagers show their shock.
    This panel involves a PAUSE followed by a FADE-OUT and then another PAUSE.
    A FADE-OUT is an important motion action.
    FADES are camera effects used mostly to represent time passing.


    Storyboard Panel 6

    This panel is another dialog image where again the boy yells Wolf!!
    There is no motion on this panel.


    Storyboard Panel 7

    This panel features the villagers in a state of suspicious agitation. No motion exists on this panel.


    Storyboard Panel 8

    Panel 8 shows the boy admitting again that he is kidding.


    Storyboard Panel 9

    This image shows the boy yelling Wolf for the third time. No motion for this panel.


    Storyboard Panel 10

    This image shows the villagers are fuming mad and not in the least persuaded that a wolf exists.
    No motion for this panel.


    Storyboard Panels 11 and 12

    Panel 11 and Panel 12 Arrow Guides show the boy running with a wolf chasing him.
    To indicate speed, there are two sets of arrow guides and panels.
    Both panels will occupy frames 281 - 310, each on a different layer.
      (1) boy and wolf : Panel 11 should be placed on the Panel layer.
      (2) background : Panel 12 should be placed on the Background layer..
    Take a moment to examine the arrow guides below.
    Both panels are larger because they require PANNING motions.


    Storyboard Panel 13

    This is the final panel, and scene of the animation.